
How to Start Filming Share Worthy Drone Videos in 1 Day
In this article I’m going to show you how to start filming drone videos that people actually want to watch.
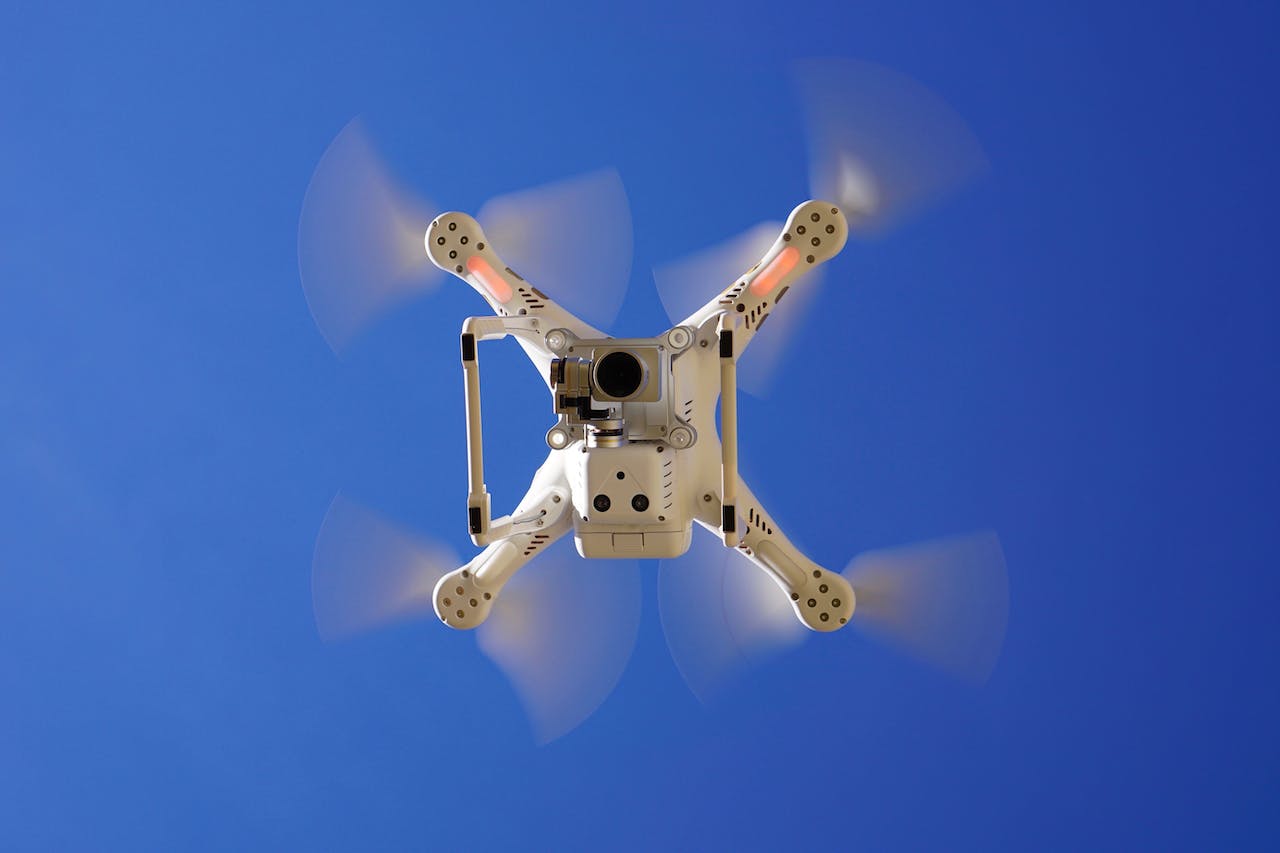
When I upgraded to the DJI Spark 5 years ago, I was pumped to start filming something amazing with what was a high-quality drone camera at the time.
However, I quickly realized that just because it was cool to fly a drone, that didn’t mean that what I was capturing was necessarily worth watching.
Several upgrades later, I found a strategy to making drone videos that were interesting every time.
I call this the Trench Run Technique.
Trench Run Technique
The idea behind this name comes from Star Wars. In the movie, there’s a scene where Luke Skywalker flies his ship down the trench of the death star to destroy it and save the day.
It’s one of the most iconic and exciting parts of the film. I’ll explain more how this ties into the actual technique later on, but that’s the type of flying we are aiming for.
From Boring to Brilliant
Have you ever driven out somewhere with the intention of filming a killer drone video that turned out to be nothing special?
You can have the best scenery in the world and it won’t do anything for you unless you can film it properly.
I had this issue where I would take the time to travel someplace remote and scenic, setup my drone, and then launch it out there and hit record.
Though it felt like what I was capturing was quality stuff, watching the video on my computer afterwards was usually a disappointment.
However, the Trench Run Technique helped me start filming videos I actually wanted to share with people. I learned what to avoid and what to make sure to include in every video I took.
5 Steps to Filming Drone Videos
Here are the 5 steps to using the Trench Run Technique:
- Step 1: Find a subject
- Step 2: Make a specific movement
- Step 3: Fly smooth
- Step 4: Record early
- Step 5: Expose properly
That's it! Keep reading to learn how to apply this technique to your own videos.
Step 1: Identify a subject for your video
Perhaps the most important thing that you can do to improve your drone videos is to identify a specific subject that you want to film.
Videos are most interesting when they tell a story, and the first part of any story is a subject.
Picking a subject can help you to create a story out of what would be a meaningless video. This subject can be a person, a building, a car, a mountain – it doesn’t really matter what it is, just pick something!
In this video, the subject is clearly the cabin and that's what your eyes focus on.
You can also have multiple subjects in the same video, but I prefer to start off with one prominent subject.
Now, with your subject in mind, you will automatically be drawn to that thing when you are flying and film more of it. Your subject will be the main focus of your video and should be the place where your eyes naturally look to.
Step 2: Plan a specific movement with your drone's camera
FPV pilots should pay extra attention to this step.
You want to add a specific movement to your video to help with the story telling.
Think about Luke Skywalker blowing up the Death Star. He entered the trench with his fellow pilots, flew through the laser turrets, and launched his proton torpedo into the port hole to blow the whole thing up!
It would make for a much less interesting story if Luke had shot at the Death Star while hovering several miles away in his ship.
Adding a planned movement will make whatever you are filming even more interesting.
For example, let’s say that my subject was a mountain. For my specific movement, I could fly down the side of the mountain and turn my drone around at the end capture my subject with a beautiful skyline.
Another example: my subject this time is a building. Pay attention specifically to the movements in this video:
Notice how you can combine different movements such as moving the gimbal up while flying forward, or increasing the altitude while flying backwards. One movement is often enough for good footage, but combining two or three well in one shot is gold.
The key here is decide what you are going to do beforehand that will capture a viewers attention toward your subject.
Step 3: Smooth movements
This seems like a simple step, but it’s absolutely critical to create a quality video.
Jerky camera movements distract viewers from your subject and story, disconnecting them entirely from your video. It's just not enjoyable to watch.
FPV drones like cinewhoops can especially make a lot of jittery, abrupt movements. Be sure to fly every movement as smooth as you possibly can. Every small course correction will show up when you edit your footage.
Additionally, remember to film for about twice as long as you think a shot should take.
For whatever reason, many pilots cut off the shot too quick and the full effect of the subject or scenery is diminished.
Step 4: Begin your recording early on
Another simple step but an important one.
Start recording well before you think you need to. When you get back to your computer afterwards for editing, you can always cut out the excess.
What you want to avoid is missing anything important.
Before a flight, remember to check your memory capacity for this. I always make more space than I think I'll need on my memory cards.
Step 5: Expose properly
Exposing your video is a huge step!
Even if you get everything else right, this one step can still ruin your perfectly executed drone video.
Spend the extra time to dial this in just right. If you don’t know how to adjust exposure correctly, then you should definitely do some research on YouTube to learn how.
There’s just no way you will be able to get the quality of videos you want without this skill.
Also, be sure to watch out for those highlights when adjusting the exposure. Something bright like the sun shining off a building or a white wedding dress can still look over exposed in the final footage when the rest of the scene looks fine.
Pay attention to the exposure in this video. Notice when areas look too bright or too dark as the drone progresses.
Even though there may be some tricky lighting you always want to ensure that your camera is properly exposed for the subject.
That typically means setting the exposure to a fixed value instead of auto exposing like this video does.
I recommend when in doubt to underexpose (reasonably!) so that you can brighten up the whole scene later in your editing.
This is much easier to do than trying to correct a part of the scene that was overexposed.
Try this technique yourself
That's all the steps you need to use the Trench Run Technique to start filming share worthy videos immediately.
I suggest you follow these 5 steps on every drone video you make and compare the results.
Did this guide help you improve your videos?